Lay everything where you can see it
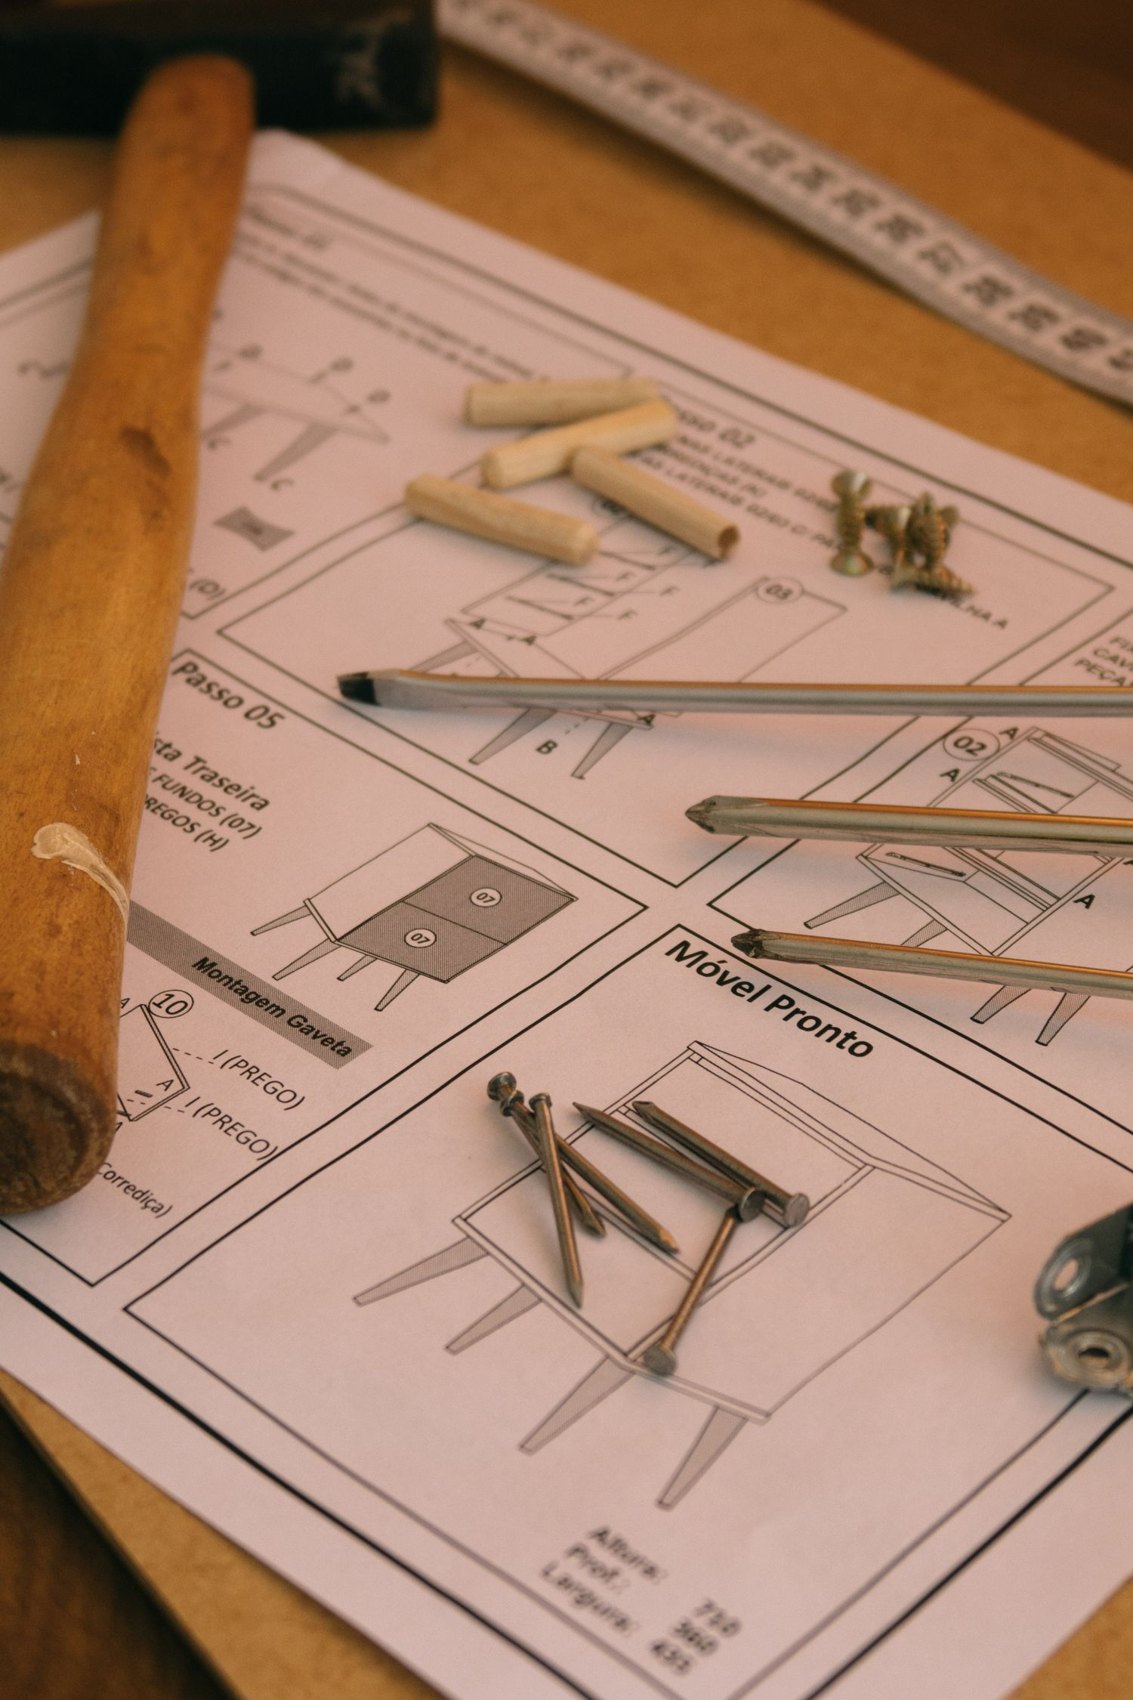
Arrange the parts on a clean, protected surface and group them by item of furniture. Compare dismantling labels and photographs with the correct assembly instructions. Inspect corners, fixing holes and grooves for transport damage. Tightening a screw harder does not restore a broken hole. Resolve damaged structural connections before assembly.
Count the fittings and separate similar screws of different lengths. Use shallow trays so small pieces cannot disappear under panels. Order missing fittings by their part reference where available. A screw that happens to be in your toolbox may be too long or have a different thread.
Leave room for the next step
Read several steps ahead. Some units are assembled lying down and raised later, requiring more space than their finished footprint. Allow for ceiling height and the specified number of helpers too. Do not keep building in a corner from which the completed unit would need an awkward manoeuvre to escape.
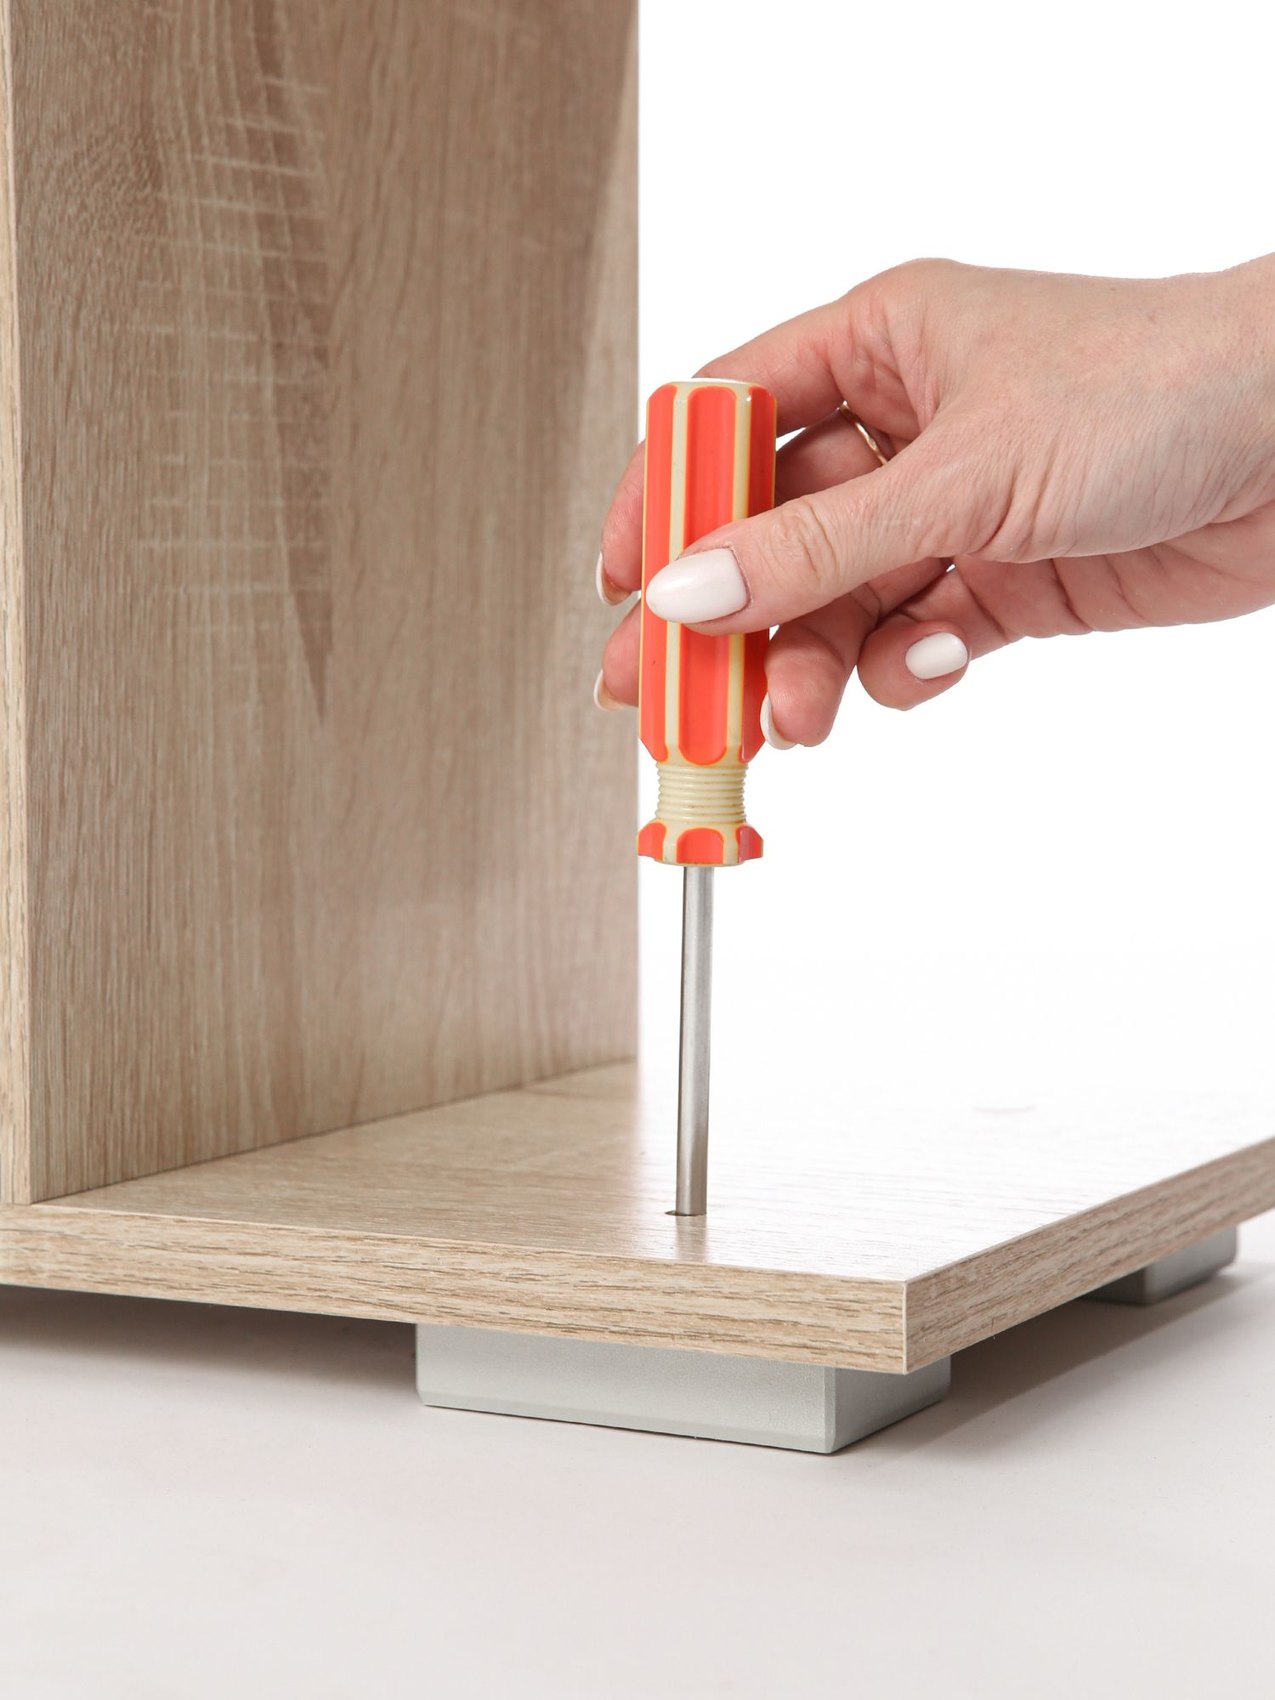
Make joints in the sequence described. Choose tools and tightening force appropriate to the fittings; high power is not a mark of good assembly. If holes do not align, check orientation before drilling new ones or pulling components together under strain. A reversed panel is usually easier to correct early.
Finish before filling
Check the frame alignment and the specified attachment of back panels, supports and doors. Required wall restraints are part of completing assembly and should not be postponed because boxes are waiting to be unpacked. Choose wall fittings suitable for both the wall and furniture; get competent help with an unfamiliar wall construction.
Test doors and drawers gently only once the unit is fully positioned and secured. Investigate any remaining fittings. Then fill it gradually, checking that loose shelves sit correctly. Clear packaging and tools before returning the area to normal use.