Start with the piece of furniture
Give each dismantled item a short code, such as W1 for the large bedroom wardrobe. Use that code on panel labels, photographs and every bag of fittings. Keep parts from two identical wardrobes separate: wear and later adjustments can differ. Add the destination room to a larger outer bag. Colour alone is not enough when someone later finds one clear bag lying on the floor.
Photograph complicated joints before undoing them. Include the screw head, washer and surrounding components in the frame. A second photograph after removing the first part often shows the construction of the joint more clearly.
Sort by connection, rather than size
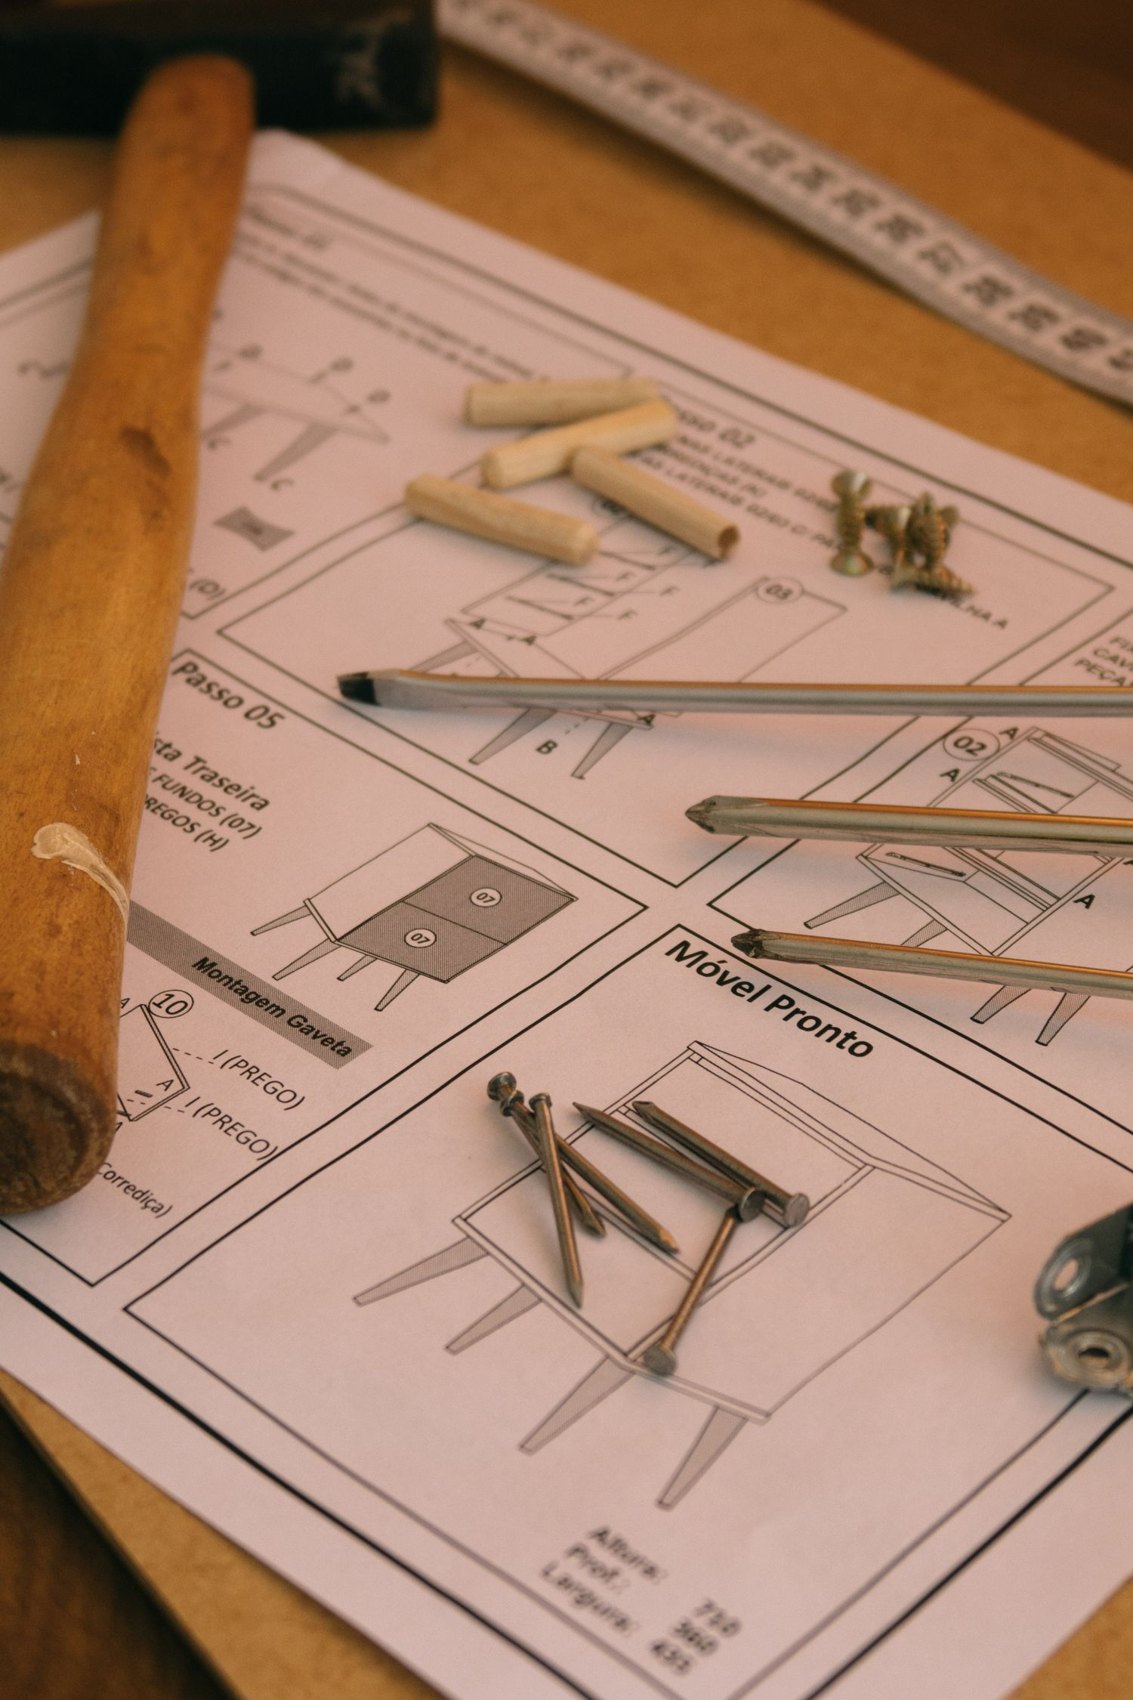
Keep the fittings for each assembly together: front left table leg, centre support or upper door hinges. A paper slip inside the bag can record the quantity and fitting position. Small washers easily disappear underneath larger metal pieces, so count them straight away. Pointed screws need a container strong enough to resist punctures. Fittings that the instructions allow to stay in a panel do not need removing simply to make the collection complete.
Put unidentified screws in a clearly marked checking bag. Do not mix them with parts that merely look suitable. Use the part references in the instructions to find replacements for missing or damaged fittings, rather than relying on a blurry photograph.
Decide how the small parts will travel
Collect the labelled bags in a closed assembly box. Keep it accessible instead of burying it inside the last wardrobe carton. Do not tape bags directly to delicate furniture finishes; removal can leave residue or cause damage. If a bag needs to stay with the furniture, attach it to the protective packaging and protect it from being torn away.
Before assembly, check quantities and then confirm which joint each group belongs to. Open only the group you need and use a small tray for loose fittings. This prevents screws rolling beneath newly delivered boxes while you position a panel.